Discover the art of creating stunning 3D cutting boards with detailed PDF plans. These designs combine functionality and visual appeal, offering a creative way to enhance your kitchen.
1.1 What Are 3D Cutting Boards and Their Benefits?
A 3D cutting board is a visually striking kitchen accessory that combines functionality with artistic design. Unlike traditional flat cutting boards, 3D designs feature intricate patterns, such as tumbling blocks or geometric shapes, created by arranging wooden strips in a three-dimensional layout. These boards are not only durable but also add an aesthetic touch to any kitchen. The primary benefits include enhanced visual appeal, improved durability due to the interlocking wood grain structure, and ease of cleaning. They are often made from high-quality hardwoods like maple or walnut, ensuring long-lasting performance. Additionally, the 3D pattern helps reduce the appearance of scratches and knife marks, making them a practical and stylish choice for home cooks and professional chefs alike.

Types of Cutting Boards
Cutting boards come in three main types: end-grain, edge-grain, and face-grain. Each offers unique benefits, making them suitable for different needs and preferences in kitchen use.
2.1 End-Grain Cutting Boards
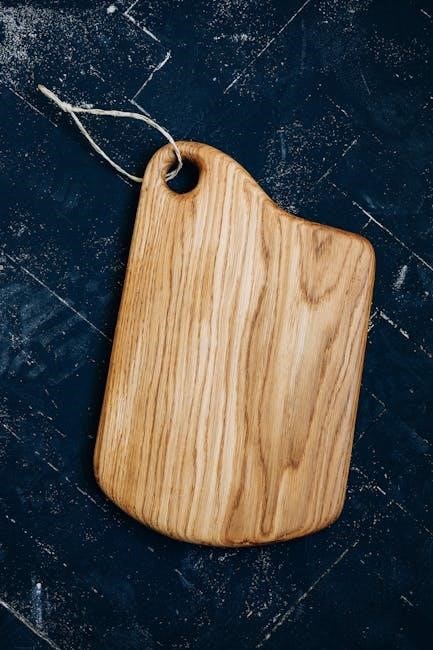
End-grain cutting boards are crafted with wood fibers facing upwards, creating a durable, self-healing surface. This design minimizes knife marks and reduces wear over time, making them ideal for frequent use. They are often considered the premium choice for professional chefs and home cooks alike due to their exceptional resilience and aesthetic appeal. The end-grain construction also allows for intricate 3D designs, adding a touch of artistry to functional kitchen tools. With proper care, these boards can last for years, making them a worthwhile investment for any culinary enthusiast.
2.2 Edge-Grain Cutting Boards
Edge-grain cutting boards are constructed by aligning wood planks edge-to-edge, forming a flat surface. This method is simpler and more cost-effective than end-grain boards, yet still durable and practical. The edge-grain design offers a smooth surface for cutting and is less prone to warping, making it a popular choice for everyday use. While it may not be as visually striking as end-grain boards, edge-grain cutting boards are versatile and can be easily customized with 3D patterns or designs. They are a great option for those seeking a balance between functionality and affordability without compromising on quality.
2.3 Face/Flat-Grain Cutting Boards
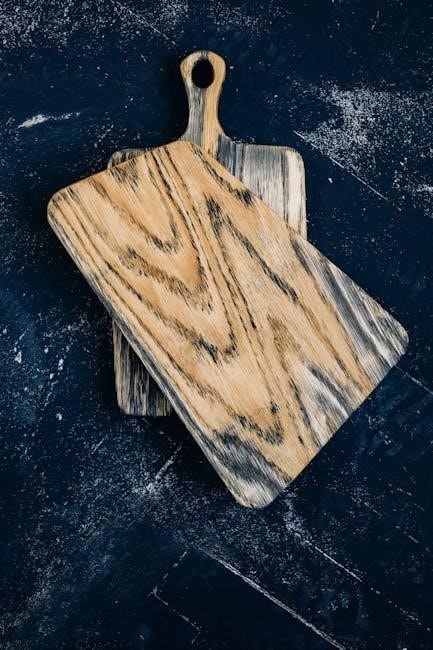
Face or flat-grain cutting boards are made by placing wood planks side by side with their wider surfaces facing up. This style showcases the wood’s natural grain pattern, offering a unique aesthetic appeal. Flat-grain boards are often used for decorative purposes and can be easily integrated into 3D designs due to their flat surface. However, they are less durable compared to end-grain or edge-grain boards and may develop knife marks more easily. Despite this, they remain a popular choice for their visual charm and ease of customization, making them ideal for those who value design and simplicity in their kitchen tools.
Materials Needed for 3D Cutting Boards
Essential materials include premium hardwoods, wood glue, sandpaper, and food-safe finishes. Detailed PDF plans often specify metric dimensions, ensuring precise cuts and professional results.
3.1 Choosing the Right Wood for Your Project
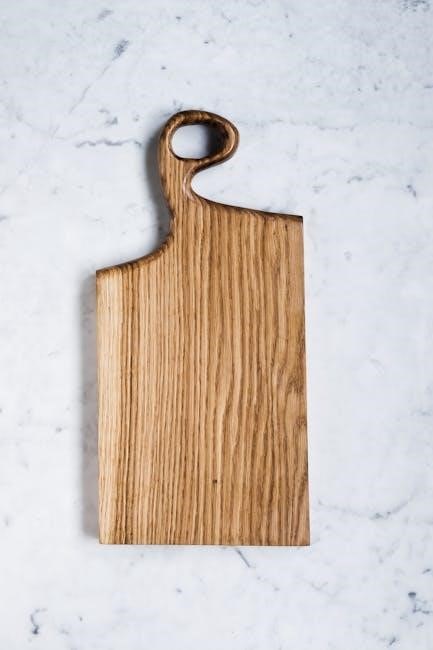
Selecting the appropriate wood is crucial for your 3D cutting board. Hardwoods like maple, walnut, or cherry are ideal due to their durability and attractive grain patterns. Ensure the wood is properly dried to prevent warping. Consider the color and texture contrast between different wood species to create a visually striking 3D design. PDF plans often specify the types of wood that work best for this project. Always opt for food-safe finishes to maintain hygiene. Avoid softwoods, as they are less durable and more prone to scratches. Proper wood selection will enhance both the functionality and aesthetic appeal of your cutting board, making it a standout piece in your kitchen.
3.2 Essential Tools and Supplies
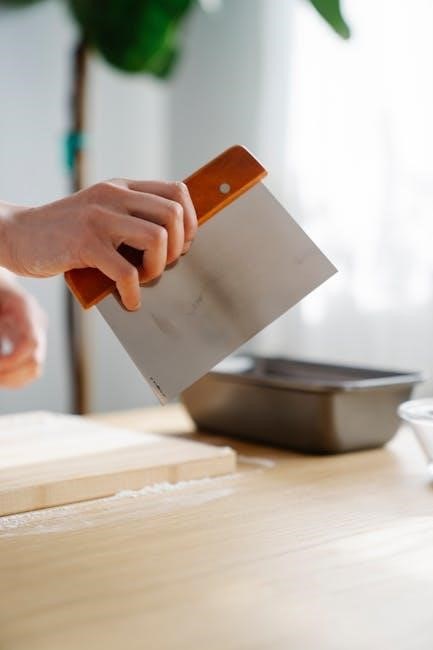
To successfully create a 3D cutting board, you’ll need specific tools and supplies. A table saw or miter saw is essential for precise cuts, while a drill press and clamps are necessary for alignment and gluing. Sanding tools, such as belt sanders and orbital sanders, ensure a smooth finish. Safety equipment like gloves and goggles is a must. For supplies, high-quality wood glue, food-safe finishes like mineral oil or wax, and sandpaper in various grits are required. A straightedge and measuring tape help maintain accuracy. PDF plans often include detailed lists, but having these tools and supplies on hand will streamline the process and ensure professional results. Proper preparation and organization are key to achieving a stunning and functional 3D cutting board.

Step-by-Step Process for Making a 3D Cutting Board
Transform your woodworking skills into a stunning 3D cutting board by following detailed plans. From preparing panels to assembling and finishing, each step ensures a professional result.
4.1 Creating Wooden Panels
Creating wooden panels is the foundation of your 3D cutting board project. Begin by selecting high-quality wood planks, ensuring they are dry and free of defects. Cut the planks to the desired length and width, aligning the grain for stability. Next, glue the planks together side by side, using wood clamps to secure them tightly. Allow the glue to dry completely before proceeding. Sand the panels to ensure a smooth surface. Proper panel creation ensures the cutting board is durable and visually appealing. This step sets the stage for the intricate 3D design, making it crucial for the project’s success.

4.2 Preparing Wooden Strips for the 3D Pattern
Preparing wooden strips for a 3D pattern involves cutting and shaping wood into specific dimensions to create a visually appealing design. Start by selecting wood that complements the base panels, considering color and grain for contrast. Use a table saw or bandsaw to cut strips to the desired thickness and width. Sand each strip to ensure smooth edges and surfaces. For intricate cuts, employ a jigsaw or router. Arrange the strips according to your design, ensuring they fit seamlessly. Clamp the strips in place and apply wood glue to secure them. Allow the glue to dry completely before proceeding. This step requires precision to achieve the desired 3D effect, enhancing both functionality and aesthetics of the cutting board.
4.3 Assembling and Gluing the Cutting Board

Assembling and gluing the cutting board requires careful alignment and precision. Begin by laying out the prepared wooden strips according to your 3D pattern design. Use clamps to hold the strips in place, ensuring they are evenly spaced and aligned. Apply wood glue to the edges of the strips, pressing them firmly onto the base panel. Use cauls or heavy objects to apply even pressure, minimizing warping. Allow the glue to dry completely, following the manufacturer’s instructions. Once dry, inspect the board for any gaps or misalignments. Sand the surface to ensure a smooth finish. Proper assembly and gluing are critical for durability and aesthetics, ensuring the cutting board remains stable and visually striking.
4.4 Sanding and Finishing the Surface
Sanding and finishing are the final steps to achieve a smooth, professional-looking surface. Start with coarse-grit sandpaper (80-100 grit) to remove any excess glue or uneven edges. Progress to finer grits (120-220) for a polished finish. Once sanded, apply a food-safe finish, such as mineral oil or beeswax, using a clean cloth. Allow the finish to dry according to the product instructions before applying a second coat. Avoid using toxic substances, as the cutting board will come into contact with food. Proper sanding and finishing ensure the surface is hygienic, durable, and visually appealing. This step transforms the raw wood into a functional and elegant kitchen tool, ready for everyday use.
Resources and Downloads
Access free PDF plans and SketchUp models for 3D cutting boards. These resources provide detailed designs and step-by-step guides, ideal for custom projects and woodworking enthusiasts.

5.1 Free PDF Plans for 3D Cutting Boards
Download free PDF plans for 3D cutting boards, featuring detailed drawings and step-by-step instructions. These plans are ideal for woodworking enthusiasts, offering clear guidance on creating intricate designs. With over 100 pages of content, including 172 high-quality images, you’ll have everything needed to craft stunning end-grain cutting boards. The plans are available in metric dimensions, making them accessible to woodworkers worldwide. Resources include tutorials by experts like Mike Schwing, ensuring a professional finish. Perfect for both beginners and seasoned woodworkers, these PDF plans provide a comprehensive guide to bringing your 3D cutting board project to life with precision and style.
5.2 SketchUp Models for Custom Designs
SketchUp models offer a powerful tool for creating custom 3D cutting board designs. These models allow woodworkers to modify and visualize their projects in detail before starting. Perfect for those who want to experiment with unique patterns or adjust dimensions, SketchUp files provide flexibility and precision. The models are particularly useful for understanding complex designs, such as the 3D tumbling block pattern. With the ability to tweak measurements and layouts, woodworkers can ensure their cutting boards fit specific needs or spaces. Whether you’re aiming for a modern aesthetic or a traditional look, SketchUp models empower you to bring your creative vision to life with ease and accuracy.
No Responses